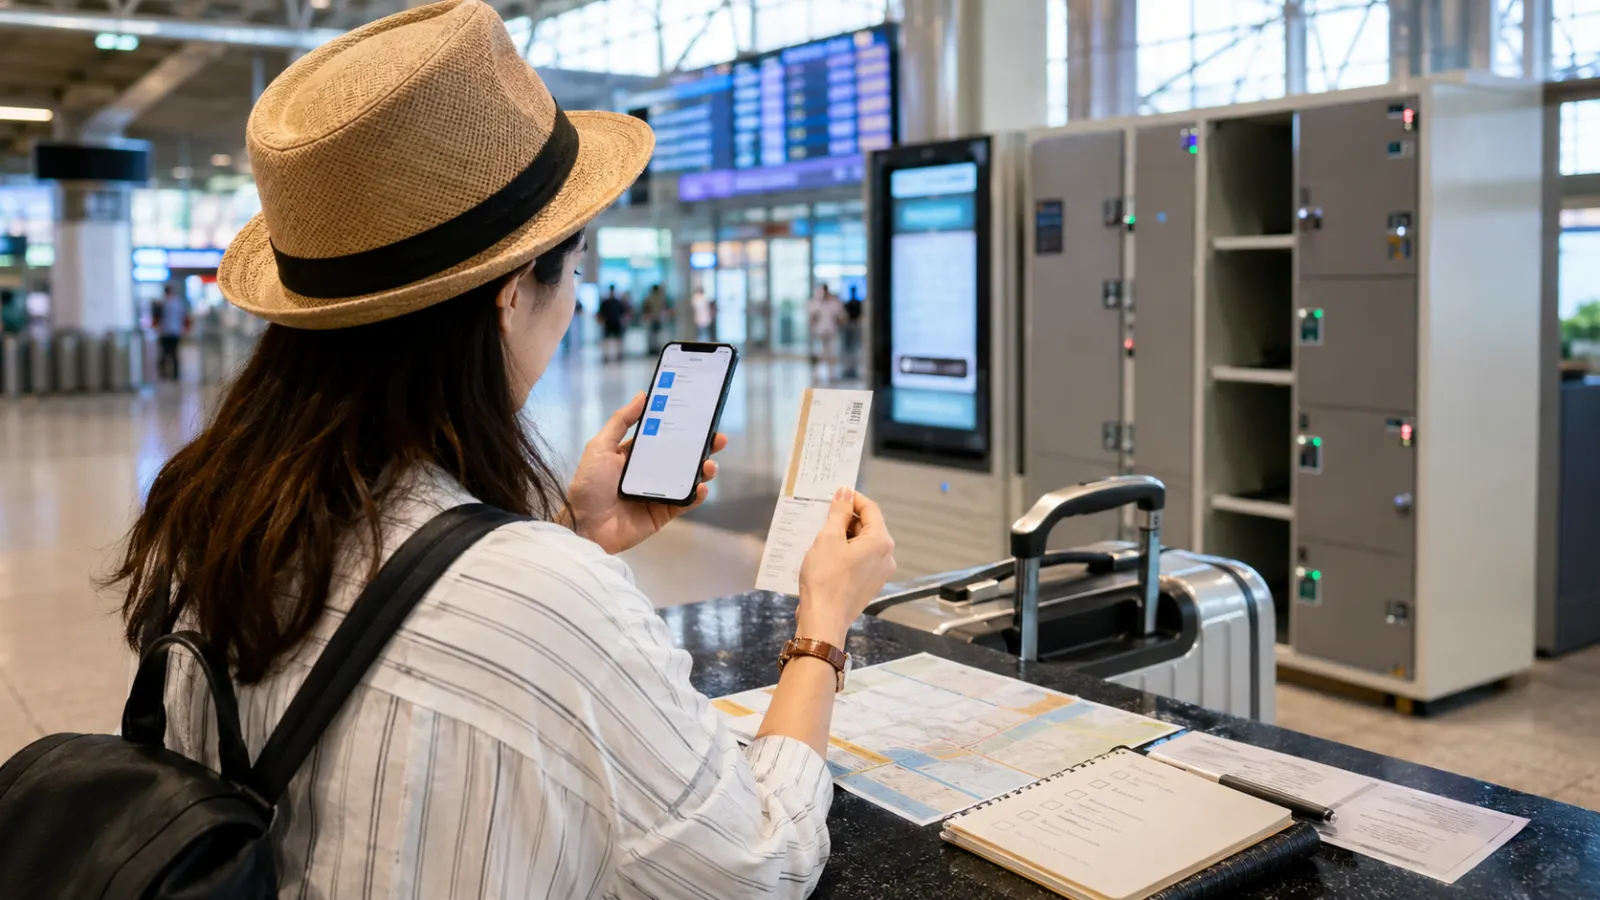
Renting a Bicycle in Korea: Public Bike Systems, Safety, and Route Planning
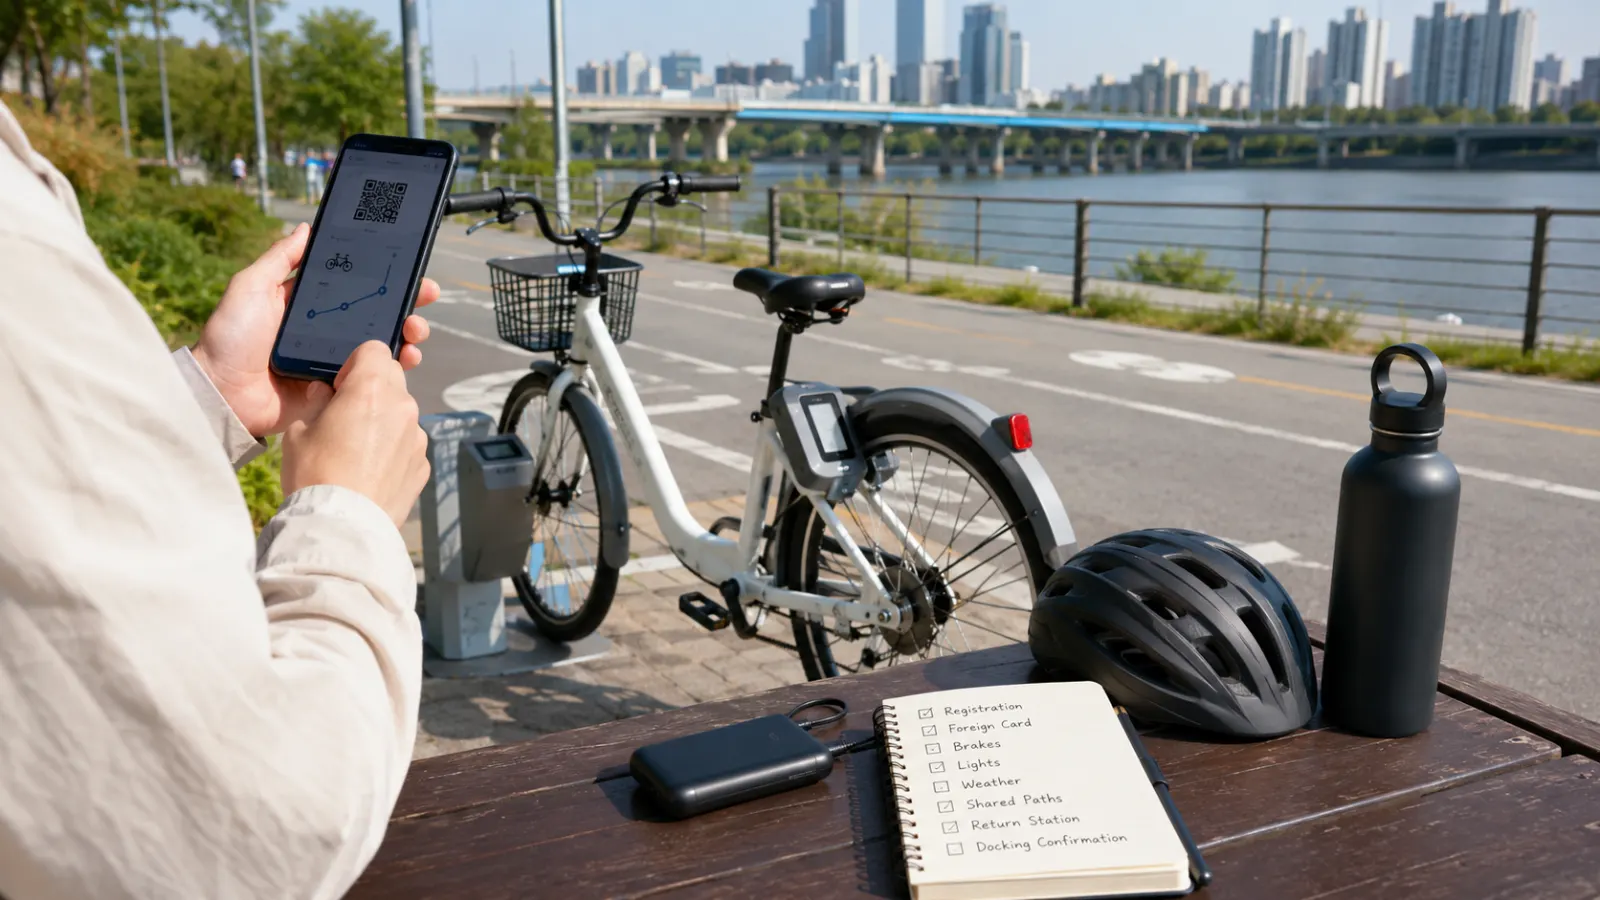
Cycling can be a practical way to explore Korean riverside paths, parks, university districts, coastal areas, and relatively flat neighborhoods. Major cities may offer public bicycle systems, while tourist destinations can have private rental shops, hotel bicycles, or seasonal services.
The difficult part for international visitors is not simply finding a bicycle. Registration, Korean phone verification, payment, operating zones, helmet availability, traffic rules, and return requirements can differ by service.
Before riding, confirm how the bicycle must be returned and whether the planned route is appropriate for your experience.
Public and private rentals are different
A public bike system generally uses docking stations or designated return areas across a city. A private rental shop may rent bicycles for a set number of hours or a full day. Hotels, guesthouses, parks, and tourist centers may also provide bicycles under their own rules.
Compare:
- Registration
- Identification
- Payment
- Rental period
- Return location
- Deposit
- Helmet
- Lock
- Repair support
- Operating hours
A public bicycle can be convenient for short one-way trips. A private rental may be better for a long recreational route.
Account registration
Public systems may require:
- Mobile application
- Korean or foreign phone number
- Payment card
- Identity verification
- One-day pass
- QR code
- App-store access
Foreign-card and foreign-phone support varies. Do not assume that downloading the app guarantees you can complete registration. Test the account before traveling to a remote docking station.
When the system offers a tourist pass or non-member option, review the return rules and payment hold carefully.
Check the bicycle before riding
Inspect:
- Brakes
- Tires
- Seat
- Handlebars
- Chain
- Pedals
- Lights
- Basket
- Bell
- Lock
- Frame
Test both brakes at low speed before joining traffic. Do not ride a bicycle with a loose handlebar, damaged wheel, weak brake, or flat tire. For a public bicycle, report the problem through the app or docking system and choose another bicycle.
For a private rental, show the issue to staff before leaving.
Adjust the seat
A seat that is too low can make pedaling inefficient and uncomfortable. A seat that is too high can make stopping and balancing difficult. Adjust it so you can control the bicycle safely. Do not raise the seat beyond the marked limit.
Short-term public bicycles are designed for general use rather than perfect athletic fitting. Choose a private shop when you need a particular frame size or longer-distance comfort.
Helmets
Helmet availability differs by rental service. Some public bicycles do not provide one with every rental. Private shops may rent or include helmets. Bring your own properly fitted helmet when cycling is a major part of the trip.
A helmet should sit level and remain secure. Do not use a damaged helmet. Children need equipment appropriate to their size and riding ability.
Bicycle paths and roads
Korea has many dedicated riverside and recreational paths, but routes can also include:
- Shared pedestrian paths
- Ordinary roads
- Narrow neighborhood streets
- Bridges
- Underpasses
- Construction detours
- Steep hills
- Busy intersections
A map line marked as a bicycle route does not guarantee complete separation from traffic. Review the route in detail before departure. New riders should begin on a flat, separated path rather than a busy urban road.
Pedestrians have priority in shared areas
Some paths are used by walkers, runners, children, pets, and bicycles. Reduce speed near:
- Crossings
- Playgrounds
- Markets
- Bus stops
- Tourist areas
- Blind corners
- Tunnels
- Crowded riverside sections
Use the bell carefully as a warning, not as a demand that pedestrians move immediately. Pass with enough space. Do not weave through crowds.
Road riding
When using an ordinary road:
- Follow traffic direction
- Obey lights and signs
- Avoid sudden lane changes
- Signal intentions
- Watch parked cars
- Expect turning vehicles
- Keep visible
- Do not hold a phone
- Avoid headphones that block traffic sound
Large buses and trucks have blind spots. Do not ride beside a turning vehicle. When an intersection feels unsafe, stop and walk the bicycle through an appropriate crossing.
Night riding
Night cycling requires working lights and greater caution. Use:
- White front light
- Red rear light
- Reflective clothing or equipment
- Clear route
- Charged phone
- Backup transportation plan
Dark riverside paths can be difficult even when they appear safe during the day. Check whether the rental bicycle’s lights activate automatically and whether they are bright enough. Avoid unfamiliar rural or mountain routes after dark.
Weather
Cycling conditions can become difficult because of:
- Summer heat
- Humidity
- Heavy rain
- Strong wind
- Winter cold
- Ice
- Fine dust
- Typhoon effects
Check the weather before renting. Wet metal, painted surfaces, leaves, and bridge sections can be slippery. Do not begin a long route when thunderstorms or severe wind are expected.
Carry water, sunscreen, and appropriate layers.
River routes
Riverside bicycle paths are popular because they reduce interaction with ordinary traffic. However, travelers should still plan:
- Entry point
- Exit point
- Bridge crossings
- Restrooms
- Water
- Food
- Repair options
- Return station
- Last public transport
- Flood or closure notices
A route that looks simple may place the rider on the opposite side of a river from the intended destination. Check bridge access before committing to a long segment.
Coastal and island cycling
Coastal routes can be scenic but may involve stronger wind, hills, limited shade, and fewer repair options. Island cycling requires attention to:
- Ferry schedule
- Bicycle transport fee
- Rental return time
- Road traffic
- Local buses
- Weather
- Water
- Charging
- Accommodation storage
Do not assume the island is small enough to circle comfortably in one day. Use actual distance and elevation, not visual impressions from a map.
Returning a public bicycle
A rental usually ends only after the bicycle is correctly locked or docked. Check the app or station screen for confirmation. Do not walk away merely because the bicycle appears attached.
A failed return can continue charging the account or cause the bicycle to be reported as missing. When a dock is full, follow the system’s instructions for another station or temporary return method. Save the completion screen until the charge is final.
Private rental returns
Ask the shop:
- Return deadline
- Late fee
- After-hours return
- Damage policy
- Lock requirement
- Flat-tire process
- Theft responsibility
- Rain cancellation
- Deposit refund
Photograph the bicycle when collecting and returning it. Do not leave it outside a closed shop unless an authorized return method has been explained.
Accidents and breakdowns
Save the rental service contact. If a collision occurs:
- Move to safety when possible.
- Check for injuries.
- Contact emergency services when needed.
- Record the location.
- Photograph the bicycles and scene.
- Exchange appropriate information.
- Notify the rental operator.
- Keep medical and repair records.
Do not continue riding a damaged bicycle. For a mechanical problem on a long route, identify the nearest station, shop, road, or public transport connection.
A practical cycling checklist
Before riding:
- Confirm registration and payment
- Inspect brakes and tires
- Adjust the seat
- Prepare a helmet
- Check weather
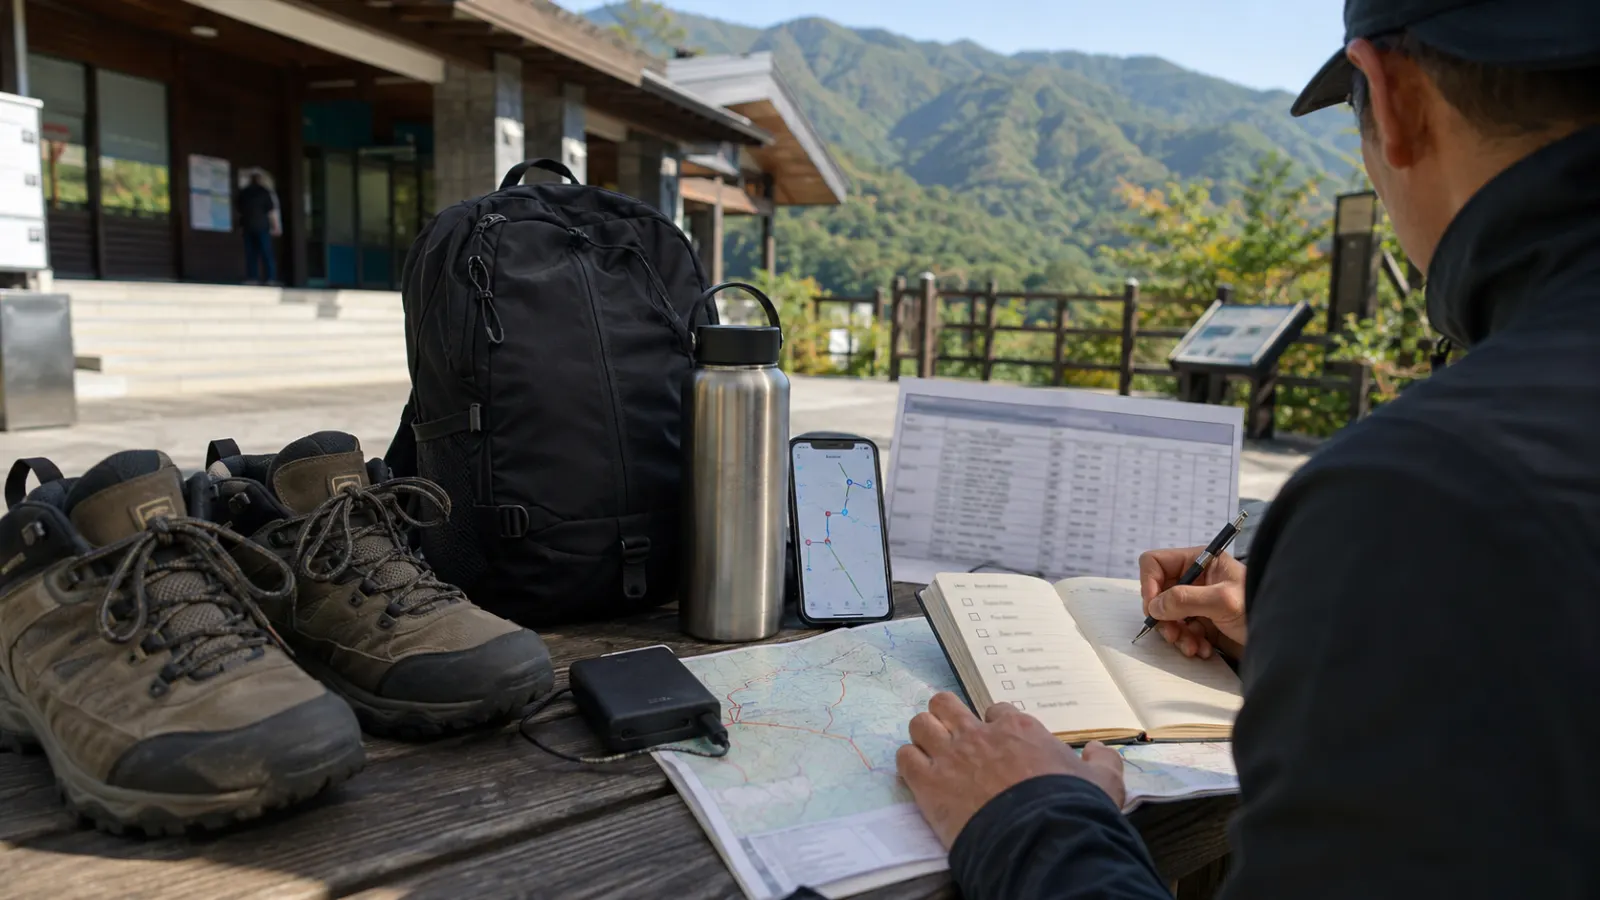
- Download the route
- Plan the return
- Carry water
- Charge the phone
- Save support contacts
During the ride:
- Follow signs
- Slow around pedestrians
- Avoid phone use
- Monitor return time
- Confirm the final docking
Quick Summary
- Public bicycle systems and private rental shops use different registration, payment, and return rules.
- Inspect the bicycle and confirm helmet availability before leaving.
- Review whether the route uses separated paths, shared walkways, or ordinary roads.
- A rental ends only after the return is successfully confirmed.